Here's a little tutorial on cloth roses. I used a pastel green patterned cotton, but you can use almost anything.
First, get your material. The length of it width-wise will have everything to do with how big and how puffy/gathered your rose is. I have used 21.5 inches for mine, since that's the length of the little square I have and I'm making this for a mini hat.
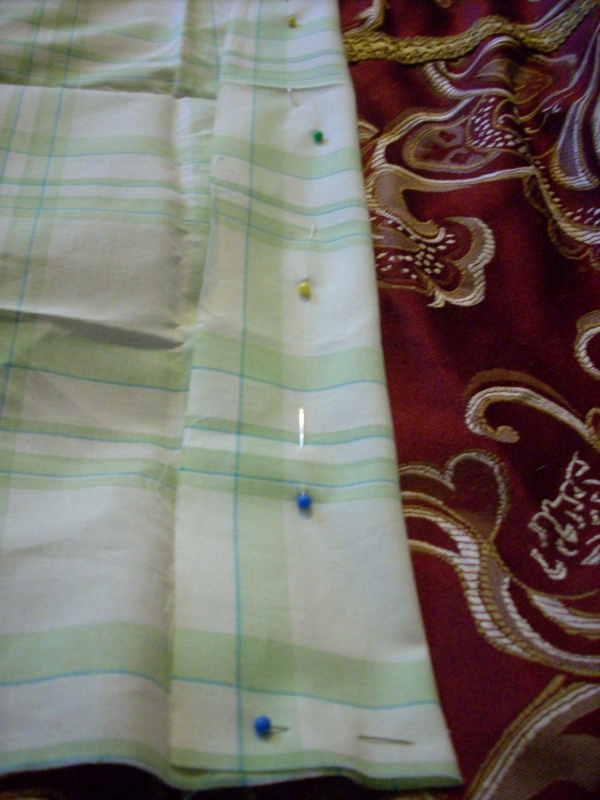
Next, fold it 1.5 inches on one end and 2.5 on the other. Make sure to pin this all along the length to keep a clean edge. If you want you can use fabric chalk to mark the line, but I usually just skip that step and cut along it. The folded fabric should have the underside showing (mine is patterned on both sides, so it doesn't matter) with the front face of the fabric on the inside of the fold.
So you should have a strip of fabric that is folded over, 21.5 inches long and 1.5 wide at one end and 2.5 wide at the other. Basically it tappers from 2.5 to 1.5 inches.
Next we're going to sew the edges All except for the 1.5" edge, leave that open so we can turn this inside out once it's sewn. You have a 1/4" seam allowance and I usually trim it a bit after sewing to make sure there aren't any chunks messing up the way the fabric lays, but that's up to you, and probably won't even be noticeable. I'm just picky. :)
So we should have this now:
Turn it inside-out so the face of your fabric is showing. It should look like this:
Now do a small gathering stitch for the 1.5" end. I usually do this by hand.
Finally, time to do some serious gathering. I usually try and gather half the fabric, so I went from 21.5" to a 10.5" when finally gathered. For a tutorial on how to do a gather, look
here. I only use a typical straight stitch for this, and do it by hand, but again, it's up to you. Do not sew more than one line of thread in. Only use one thread straight across, or the bottom will be too stiff and it will make your rose look weird. Make sure your gathering stitch is running about 1/5" or so away from the edge as you sew (the seam edge, not the folded edge-- that will be the top of the petals).
Fold the gathered 1.5" end and stitch the bottom a few times. After that it's just a matter of tucking and stitching. Roll the fabric and stitch, roll it and stitch. Keep doing so until you get to the end.
Then stitch the bottom a bunch of times so that it's nice and strong. Try to tuck and sew in any little bits into the center to keep it clean.
And tada! You have a cloth rose!