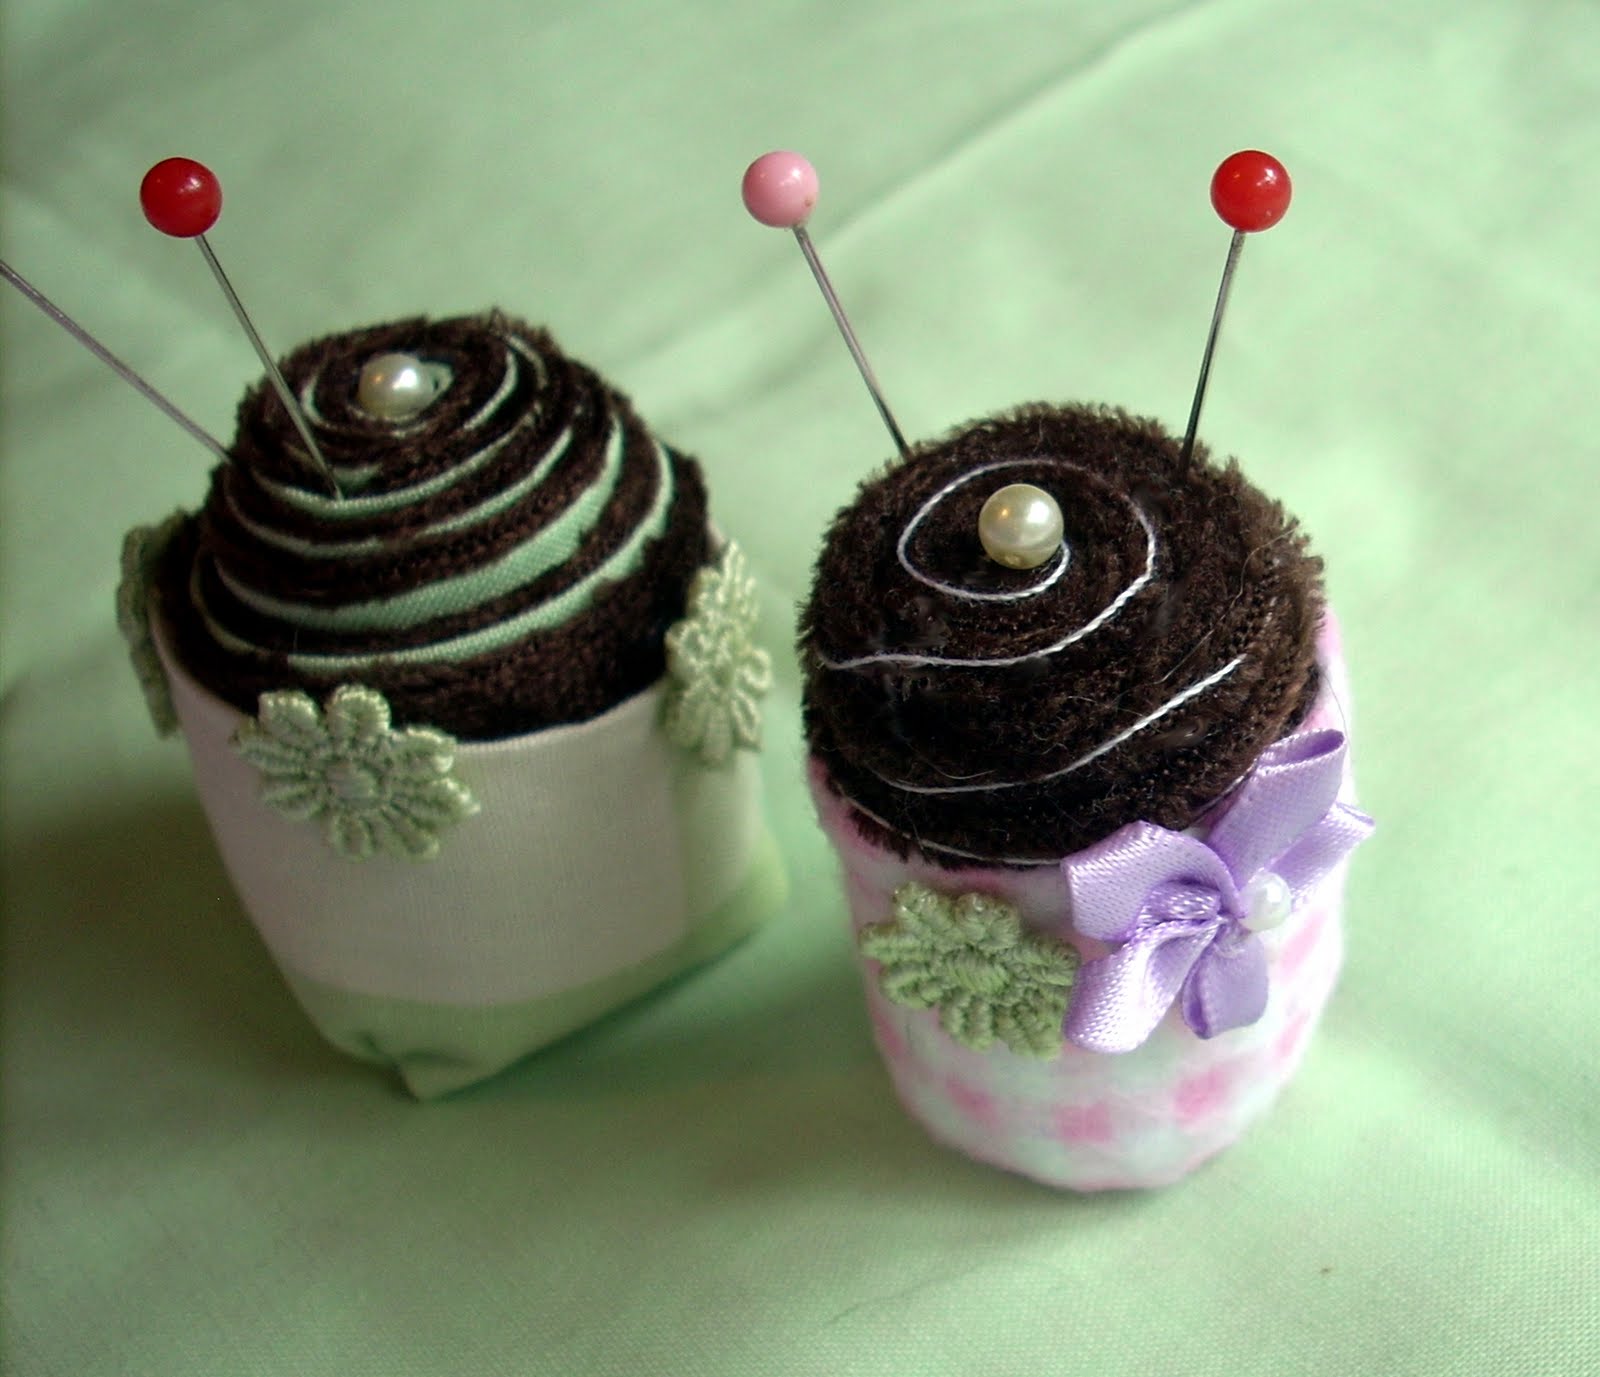
Thought I'd make a tutorial on how to make adorable cupcake pincushions. These are roughly 1.5 to 2 inches tall and about an inch across, or 4 inches in diameter. They are very easy, not at all time consuming, and take very little material. I made my own from scraps.
These little cupcakes make great gifts, especially passed out at Lolita meet-ups!
Step 1: Choose your material. You will need at least two; one for your cake and one for your cupcake wrapper. The one for your cake must be plush, or you will end up using a good amount of material. I am using some leftover brown velvet for my 'chocolate'. It is perfectly plush. You can probably get away with a thick cotton, but velvet, felt, or even wool would be better. Make sure it is something that can handle a whole lot of needles without being ruined. The second fabric (for the wrapper) must be something more thin, such as basic cotton, which is what I've used.
** You can also opt for a third color if you wish to make a swirly cupcake. I have used a mint-green cotton for this in my tutorial.
Step 2: Cut a strip from your cake fabric (and a matching one from your swirl fabric if you're using it) measuring 2 inches tall by roughly a foot long. The length is determined by how thick your fabric is. You can determine this by rolling the fabric (or if using a swirl, roll them together) until it measures 4 inches in diameter (about 1 inch across) at the widest. Fold these in half and sew each along the bottom of the length so that you have a tube (or tubes).
Step 3: If using a swirl, place the swirl fabric on top of the cake fabric with the cake fabric sticking out just a little so that you can tuck it over the swirl fabric and then begin rolling. Then fold (in the picture below, please ignore that my swirl fabric was not quite the height as the cake- it was made from a scrap so I had to make it a bit smaller than normal) If not using the swirl, just start rolling the fabric. You want to be careful and not have the center collapse. As you roll, slowly pull the fabric down a bit.
Step 4: If using swirl fabric, cut a bit off the swirl piece so that it is slightly overlapped by the cake. Pin and sew the end so it's snug against the cupcake. I used a bit of fabric glue to add some extra sturdiness, but you don't have to.
Step 5: Cut off any extra material on the bottom of the cupcake so that it's nice and flat.
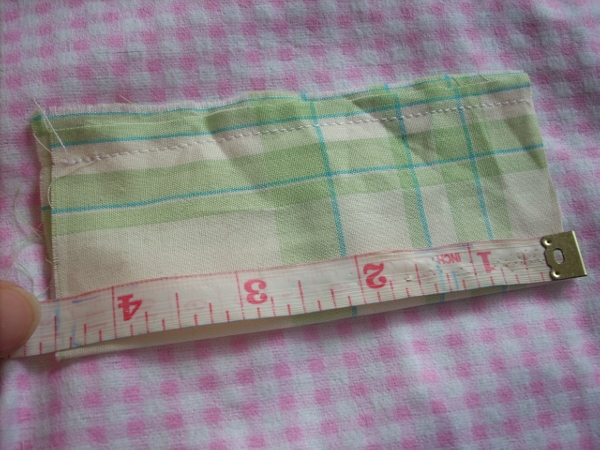
Step 6: Measure your wrapper fabric. It should be 4 inches tall by whatever the diamater of your cupcake is plus 1/2 inch. My cupcake was about 4 inches in diameter, so I measured my wrapper at 4 x 4.5 inches. The extra 1/2 inch is going to be a 1/4 inch seam allowance for each end.
Step 7: Fold the 4 inch length in half and sew the bottom to make a tube as you did with your cake.
Step 8: Now fold the tube in half and sew the pieces together along the 1/4 inch seam allowance. You should have a small tube matching the diameter of your cupcake. Turn it inside out.
Step 9: With the sewn end at the bottom, slide the wrapper up over the bottom of the cupcake. It should be nice and snug. If it is not, tighten the tube up by sewing it a little more, so that you've made your seam allowance bigger.
Step 10: Now fold the bottom of the cupcake wrapper. It is pretty much how you fold the end of a gift-wrapped package, but I will try to demonstrate. Otherwise have a look at
step 4 of this for an example. We are folding it this way because it makes the bottom pretty flat, so that the cupcake can sit upright without falling over. Once folded, pin in place and sew it really well.
Step 11: Decorate!
If you wish to add a handle, they can easily be turned into teacups!